Are you looking for a fun and innovative way to let off some steam? Why not try axe throwing? With just a few supplies and a bit of know-how, you can create your own axe throwing target from the comfort of your own home. In this DIY guide, we’ll take you step-by-step through the process of making an axe throwing target that’s perfect for improving your skills. So, grab your tools and get ready to channel your inner lumberjack – it’s time to make a DIY axe throwing target!
First You’ll Need The Right Tools & Materials
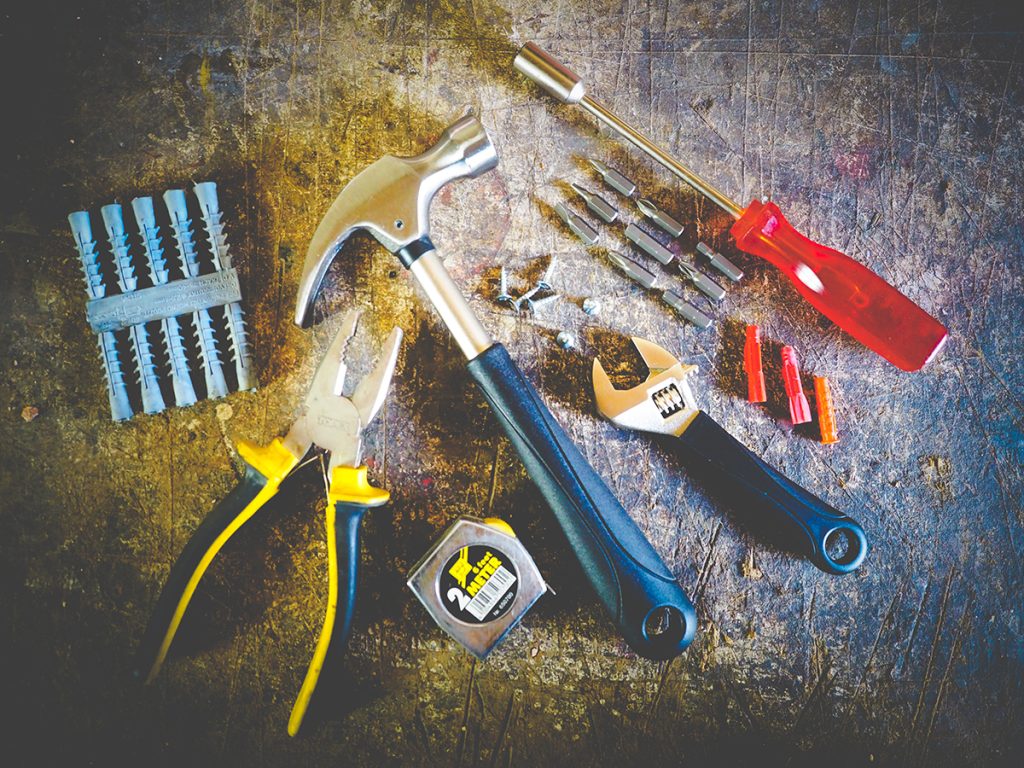
Before you get started, it’s important to make sure that you have the right tools and building materials for the job. According to the World Axe Throwing League, these are the materials you’ll need in order to build your own axe throwing target to practice your axe throwing skills at home:

🪓Drill
🪓Level
🪓Measuring Tape
🪓Safety goggles
🪓Work gloves
🪓2 bottom lengths (2″x4″x72”) – Base Frame Components
🪓3 bottom spreader lengths (2″x4″x45”) – Base Frame Components
🪓2 upright vertical lengths (2″x4″x84”) – Vertical Supports
🪓2 diagonal support lengths (2″x4″x88”) – Connects Base Frame & Target Support
🪓2 upright vertical length spreaders (2″x4″x42”) – Vertical Supports
🪓2 filler lengths (approx. 2″x4″x8”) – Additional Target Support
🪓1 (2″x10″x4’) front base/ledge board – Baseboard
🪓5 (2″x10″x4’) target backboards – Backboards
🪓5 (2″x10″x4’) target front boards – Swappable Front Target Boards
🪓3” Deck Screws (100 counts) – Hardware
With your wooden target materials gathered, it’s time to get crafty! Grab your flannel and head into the workshop for a building experience you won’t forget.
Make Your Own Axe Throwing Target
Once you’ve gathered all your supplies together, it’s time to begin building your new axe throwing target.
Step One: Creating the Base Frame
Start by attaching the front and back spreaders to the ends of the bottom lengths, making a rectangle. This will become the base of the axe throwing target’s frame.
Step Two: Base Frame Support
In the center of the bottom lengths, you want to screw in a spreader. This will make your target board more durable, so you won’t have to worry about it tipping over when an axe sticks in the wooden target.
Step Three: Upright Board Frame
Go ahead and screw one of the upright vertical length spreaders to the top of two vertical lengths. This will look very similar to the target’s base frame but without the bottom spreader. This should be flush with the front of your vertical lengths.
Step Four: Upright Board Frame Support
You’re doing great! Now you’ll want to screw the other upright vertical length spreader to the vertical frame, your height measurements should be about 3 feet (36 inches) from the bottom and should stick out about 1.5 inches from the front of the vertical lengths. This is what provides space for your target’s backboard.
You may need a partner to help assist with Steps Five and Six below
Step Five: Connecting Frames
Screw the vertical frame to the inside of the bottom lengths at a 90° angle. The center of the vertical lengths should be approximately 1ft from the front of the bottom frame.
Step Six: Supporting Frames
Secure the diagonal support pieces to create a solid base, beginning with anchoring them within the bottom lengths and finishing by connecting them to the verticals for maximum stability.
Step Seven: Target Support
Give your vertical supports a snug fitting by attaching the filler lengths to their front-facing parts. Ensure that they line up flush with the top of the spreader from Step Four before proceeding. To further secure and add stability, use 2×4 fillers – some might hang over for an extra bit of grip when screwing in the bottom ledger board. If you want even cleaner sides, just rip each piece down to 1.5 inches wide so it’s all perfectly aligned on either side.
Step Eight: Base Board
Secure the bottom support to your frame and make sure it stands 36 inches from the ground. This important board is an essential part of providing a sturdy base for each axe throwing target.
Step Nine: Building the Backboard
Securely attach the target boards into position by firmly screwing them onto their vertical framework – starting from the top of your base board. For optimal stability and perfectly even alignment, arrange each panel horizontally in a cross-formation across its supporting posts.
Step Ten: Placing the Target Boards
Locate the center of the backboard and align it with the front target boards. Continue screwing in the vertical target boards, one by one, outwards from the center board.
WATL, also known as the World Axe Throwing League, created an incredibly helpful instructional video on how to build an axe throwing target at home. You can check the video out by clicking here.
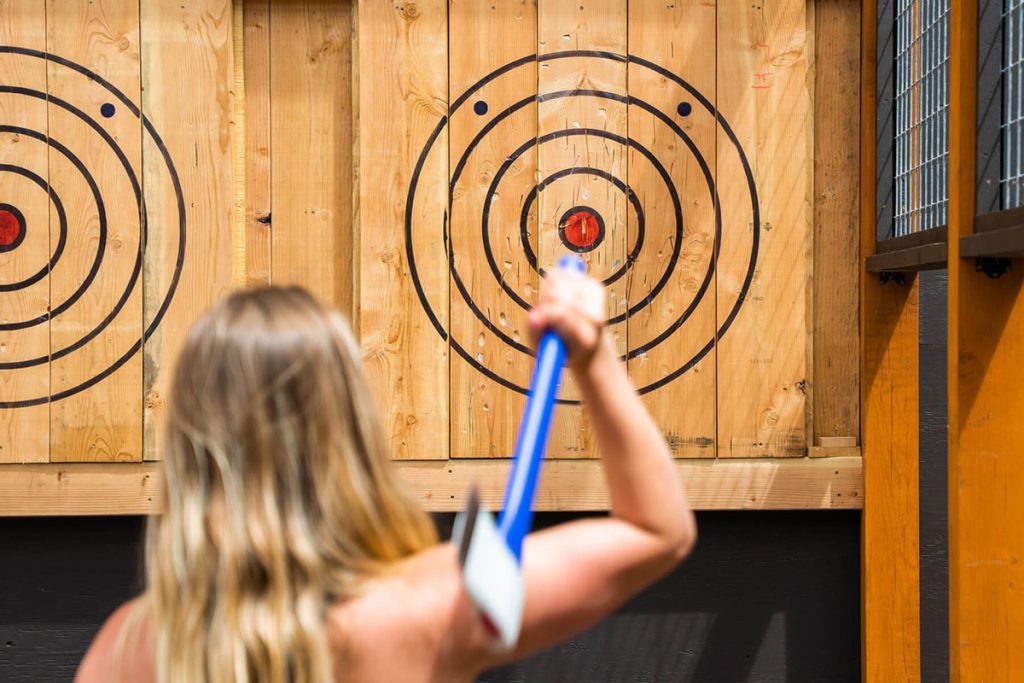
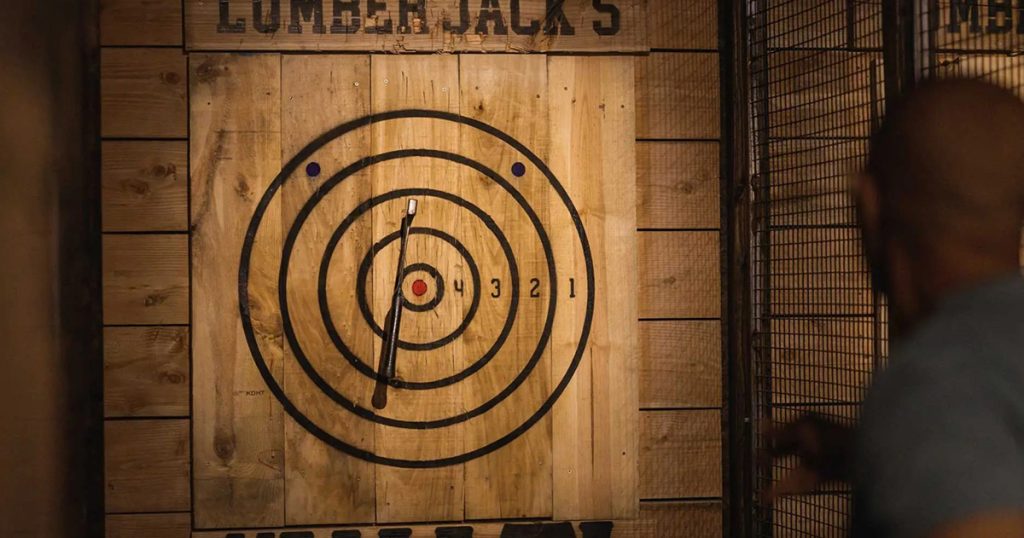
Once you’ve completed all of the above steps, all you need to do now to complete your wooden target board is to draw the actual target on your backyard target. WATL suggests a standard target size of 8 feet wide by 10 feet tall with an 8 inch center bullseye. You can use a ruler to draw the horizontal and vertical lines for each ring of your target and paint markers or regular paint to color in the target and bullseye.
You’re Now Ready To Start Throwing Axes
Remember, axe throwing is a sport that requires focus and accuracy so always make sure you follow safety protocols before attempting any throws. It’s important to remember that safety should always come first when playing any kind of sport, including axe throwing.

When throwing at your axe target, make sure you have a firm grip on the handle of the axe and stand at least 8 feet away from your own target. Make sure others are standing outside of your axe throwing area at all times, even if they are not participating in the game. Most importantly, always wear safety glasses to protect your eyes from any errant axe throws or wood splinters that may come off your targets while throwing.
Caring For Your Axe Throwing Targets
When it comes to caring for your axe throwing targets, it is important to inspect them regularly. If any splinters or wood chips are coming off of the target boards, they should be promptly removed and replaced with new boards. You should also check that all of the nails in the boards are secure and not loose. And finally, if you find any signs of damage to the target boards, replace them immediately. You also want to keep your target in a dry place to keep it from rotting or attracting insects.
Lumber Jack’s Axe Throwing
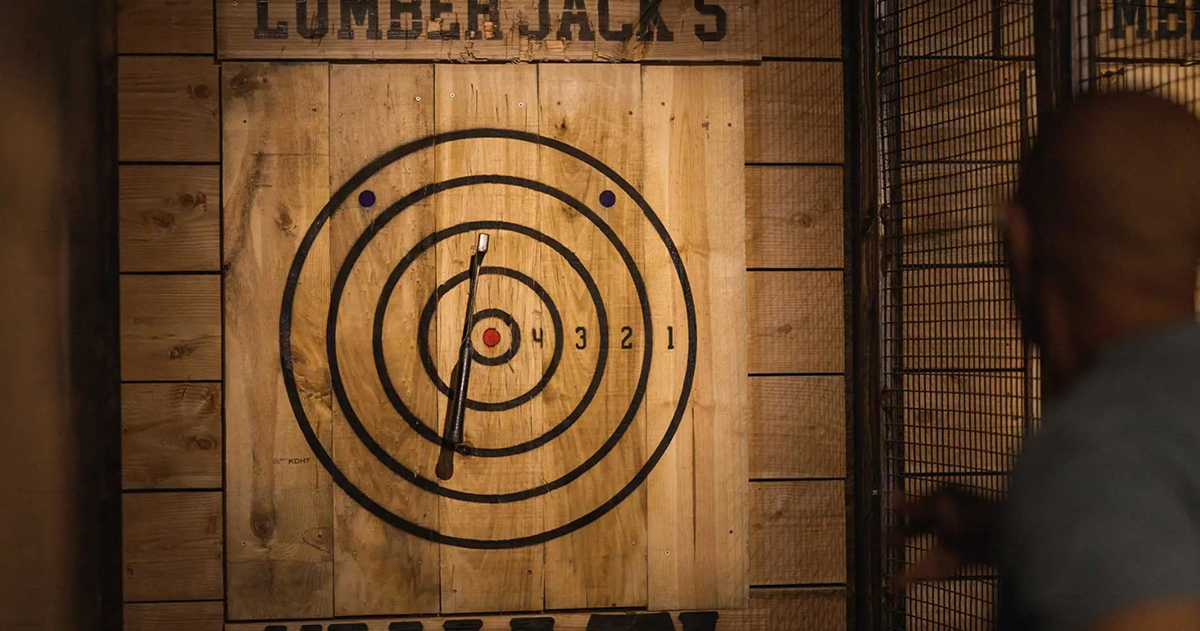
Once you feel confident in your axe throwing skills , it’s time to take things up a notch and join in an official competition. At Lumber Jack’s Axe Throwing, you can experience the thrill of taking on other axe throwing experts in a friendly yet competitive environment.
With state-of-the-art facilities that are regularly inspected for safety and quality assurance, you can rest assured that your experience will be both safe and enjoyable.

Lumber Jack’s Axe Throwing also offers a wide variety of target boards, including wooden targets, to help you hone your axe throwing skills. So go ahead and give it a try – you won’t regret it.
Contact us today to learn more about our axe throwing leagues and competitive tournaments at (833) 995-3550 or shoot us an email at [email protected]. We can’t wait to hear from you!


Leave a Reply