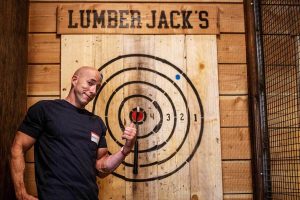
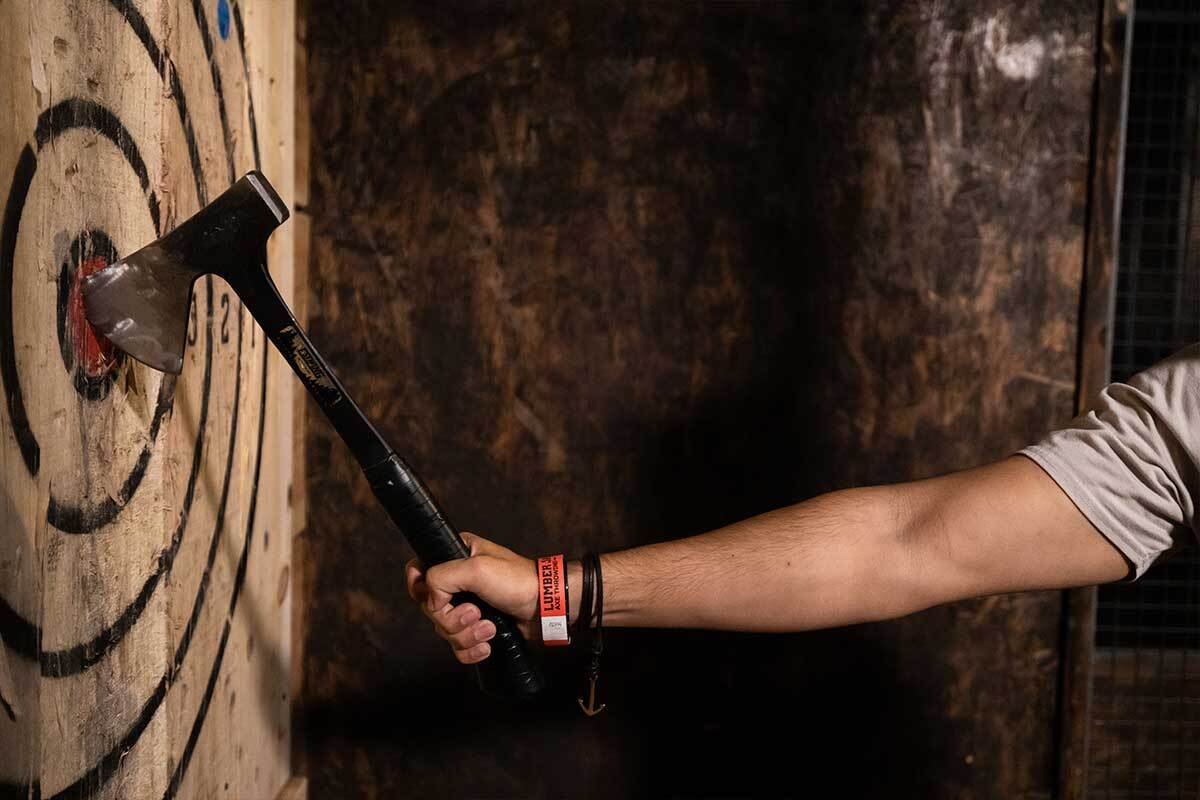
So, you want to build your own axe throwing target. We’ve built TONS of professional WATL targets, approved for competition play and casual axe throwing. Keeping our lanes stocked with quality targets ensures the best experiences for our guests. If you don’t live in Southern California and can’t make the drive to Lumber Jack’s Axe Throwing, we will go through how to create the next best thing: A Backyard Target of your very own!
Necessary Materials
This list of materials for building your own axe throwing target is brought to you by the World Axe Throwing League:
- 2 bottom lengths – 2″x4″x72” – Base Frame Components
- 3 bottom spreader lengths (back/front/mid) – 2″x4″x45” – Base Frame Components
- 2 upright vertical lengths – 2″x4″x84” – Upright Boards Support
- 2 diagonal support beam lengths – 2″x4″x88” – Connects The Base Frame and Target Support
- 2 upright vertical length spreaders – 2″x4″x42” – Upright Boards Support
- 2 filler lengths – approx. 2″x4″x8” – Additional Target Support
- 1 2″x10″x4’ front base/ledge board – Baseboard
- 5 2″x10″x4’ target backboards – Backboards
- 5 2″x10″x4’ target front boards – Swappable Target Boards
- 3” Deck Screws (100 count) – Hardware
- Measuring Tape, Level, Drill – Tools
Additionally, Lumber Jack’s would recommend adding some personal safety equipment. Work gloves can prevent splinters and accidents with power tools. (Especially when cutting each board to size.) And of course, as we all learned in middle school science class, eye protection is a must: safety glasses or goggles.
Now that you’ve assembled all of the items on your wooden target materials list, it’s time to roll up the sleeves of your flannel and jump in to the building process!

Building Your Own Axe Throwing Target
Step 1: Creating the Base Frame – Attach the front and back spreaders to the ends of the bottom lengths, making a rectangle. This is the base of the axe throwing target frame.
2: Base Frame Support – In the center of the bottom lengths, screw in a spreader. This will add durability to your target, ensuring it won’t tip over when an axe sticks in the wood.
3: Upright Board Frame- Screw one of the upright vertical length spreaders, joining two vertical lengths at the top. This will look a lot like the Base Frame, without the bottom spreader.
4: Upright Board Frame Support – Screw the other upright vertical length spreader to the vertical frame, approximately 3 feet (36 inches) from the bottom. It should stick out 1 1/2 inches to the front of the vertical lengths. This provides space for your backboard.
If you haven’t already, grab a partner for the next steps!
5: Connecting the Frames – Screw the vertical frame inside the bottom lengths at a 90 degree angle. The middle of the vertical lengths should be about a foot from the front of the bottom frame.
6: Supporting the Frames – Screwing on the inside of the target frame pieces, attach the Diagonal Support Lengths from the top of the Upright Frame, to the back/bottom of the Base Frame.
7: Target Support – Attach the filler lengths to the front of the Upright Board Frame. Sticking out from the front and sides, they provide a base to screw the bottom ledger board to.
8: Base Board – Screw the bottom board (also called a ledger board) to the front of the upright frame. According to the WATL: “The top of the ledge board should be at exactly 36” from the ground.” This is not a wooden target board, but part of the frame to support each axe throwing board.
9: Building the Backboard – Screw the target backboards into the vertical frame, starting from the top of the base board. Boards should be placed horizontally, across the vertical supports.
10: Placing the Target Boards – Find the center of the backboard and align the front target boards. Continue screwing in the vertical target boards, one by one, outwards from that center board.
The World Axe Throwing League, or WATL, has created a super helpful video on how to create an axe throwing target like this one. Check it out here: VIDEO!
All you need to do is draw your target onto the boards! And luckily, our friends at the WATL have helpful tools for that too. You can find great tips on drawing a perfect circle, getting thick and easily visible lines, and how to create the proper spacing for axe throwing. If you want to learn more about Axe Throwing Scoring, check out our Blog all about it!

Additional Builder’s Tips
When constructing your axe throwing frame and target, be sure to carefully measure all of your pieces to create flush joints. Using a classic bubble level will ensure all the components are square, making a stronger overall build. If you are concerned about splitting your wood, rather than just screwing directly into the boards, consider drilling a pilot hole first. This way, you can slip your screw into the wood easier.
Follow these steps and use these simple materials to build your own axe throwing target!
Caring for Your Target
It’s important to switch out your front target boards once in a while. If they become ratty, chopped up, or otherwise splintering off, it’s definitely time to change them out. Because of the construction of this particular target, swapping out the boards is fairly easy.
When actively throwing, it is really helpful to keep the target misted down with water. A spray bottle will do the trick. This helps the axes to stick by making the targets just a little more pliable. The wood itself becomes more receptive to axes! But be careful, don’t let it get too soaked: you risk mold growing in your wood and ruining it. Try to keep your new target out of the rain!
The work surrounding axe throwing at home is front-loaded. Once the targets are complete, you can get to throwing immediately! Having your own target is a great way to practice your axe throwing skills every day. (Or at least on the off-days when you can’t visit us at Lumber Jack’s Axe Throwing!)
Thanks for reading and happy building! Be sure to follow us on Instagram for the latest and greatest in axe-throwing videos!


Leave a Reply